
articles
GoPiGo Board Ultrasonic Sensor Attachment & Python Programming - Part 4
Thursday, July 21, 2016
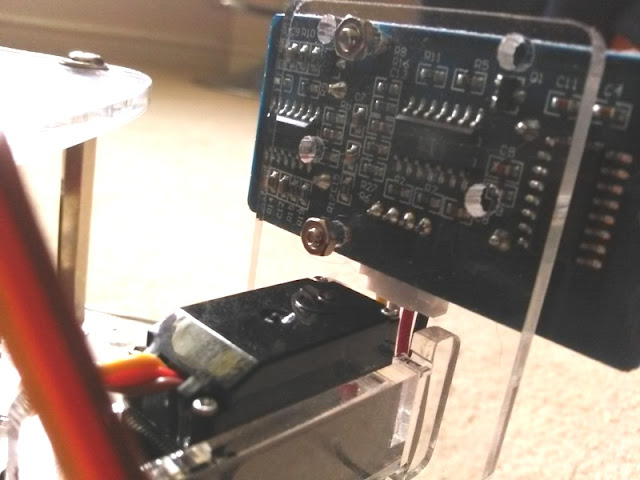

ultrasonic sensor connected to GoPiGo Board's analog port
The GoPiGo Robot car is now ready to be programmed to execute commands. To program the GoPiGo Robot Car I will be using the Python programming language. Here are the steps to start programming the GoPiGo Board:Step 1) Go to your Internet browser, type in http://dex.local/ and Launch VNC

Step 2) Click on GoPiGo folder, right click and select Empty File to create a file (I called it test.py). You can call it anything you want but be sure to add ".py" at the end.

Step 3) Write the following lines of code and then save the file:
from gopigo import *
import time
fwd()
time.sleep(2)
bwd()
time.sleep(2)
stop()


Step 5) Notice the directory location of test.py, which is /home/pi/Desktop/GoPiGoLocal/test.py Therefore, we type in cd Desktop/ >cd GoPiGoLocal >sudo python test.py to execute the command.

Step 6) The wheels will spin forwards and backwards and then stop. That's it!

The upcoming Part 5 will be about remote controlling the GoPiGo Robot Car with a desktop keyboard. Stay tuned!


0 comments