review

SpeedLink Quinox PRO Programmable PC Gamepad Controller!

Tuesday, January 17, 2017

If you are looking for a fully programmable gamepad with force vibration and extra buttons, check out the Speedlink Quinox Pro gamepad!
The QUINOX Pro programmable gamepad connects via USB and does DirectInput and XInput at the flick of a switch.
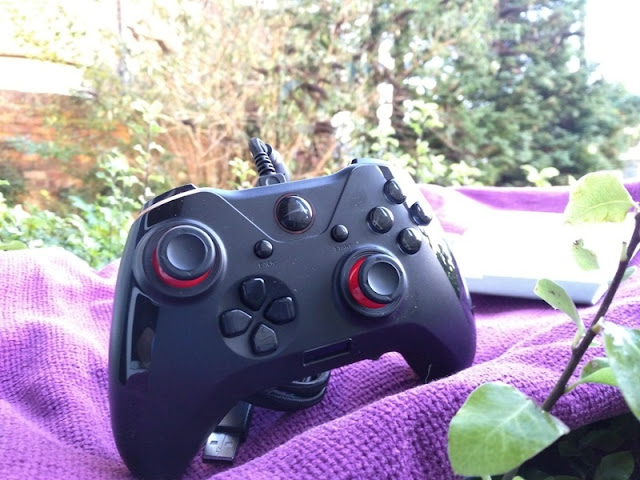
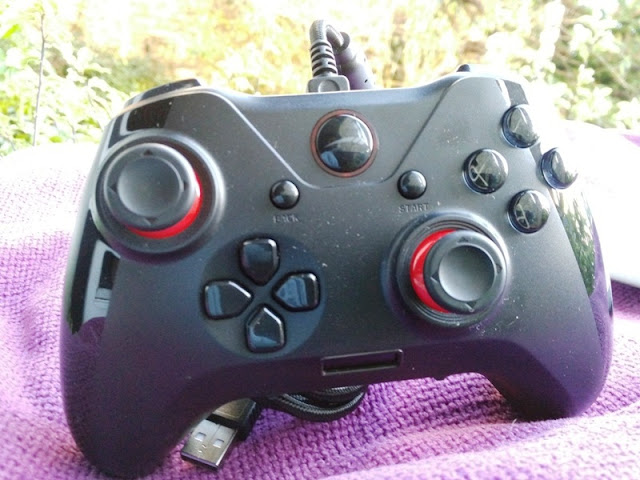
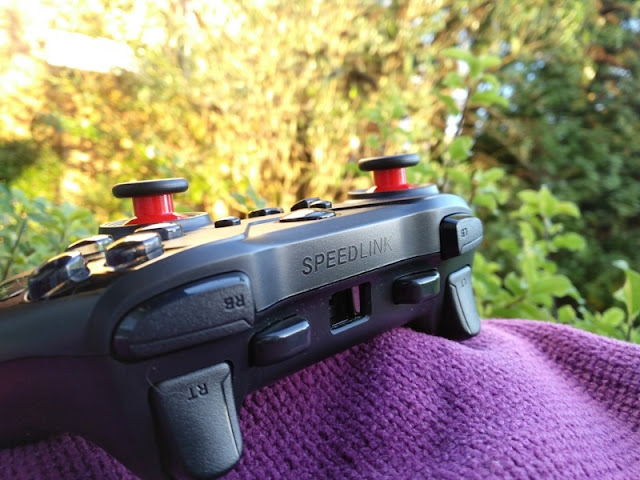
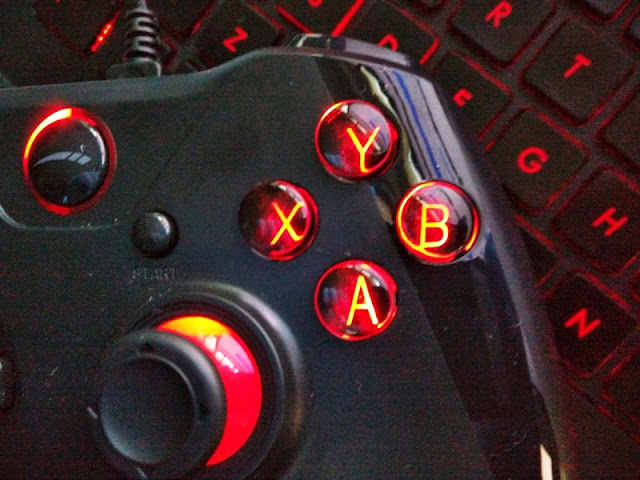
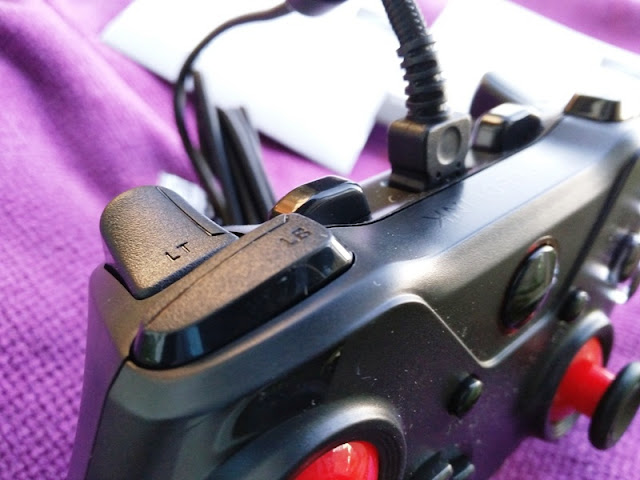
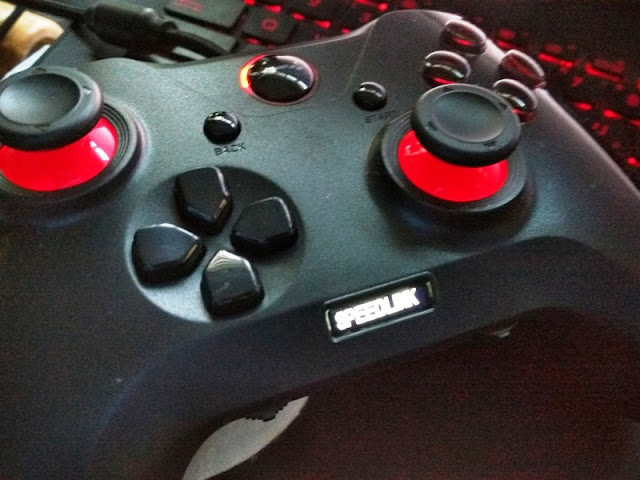
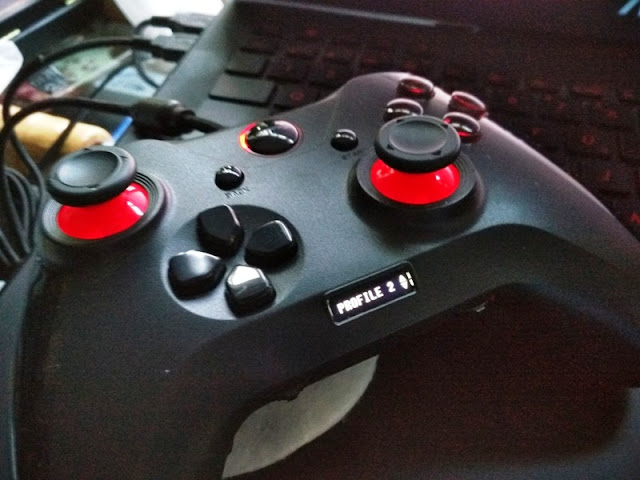
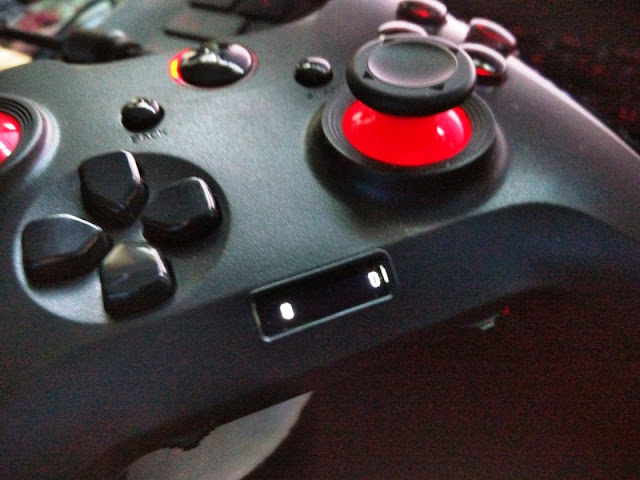
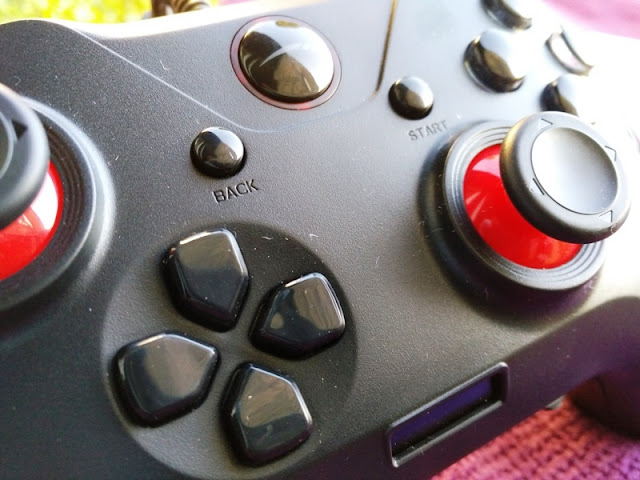
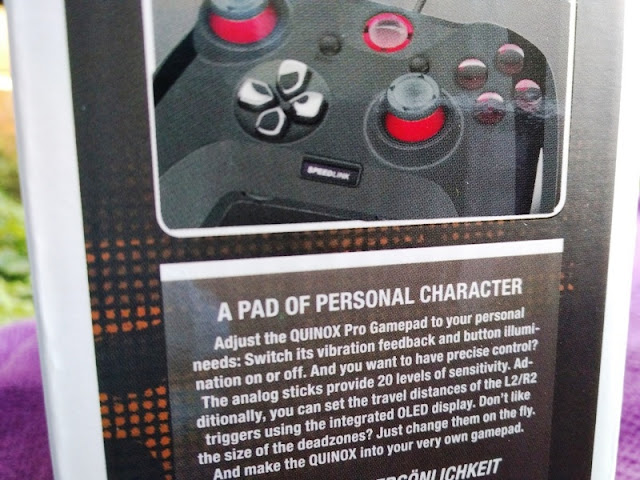
analogue sticks, D-pad, triggers and buttons
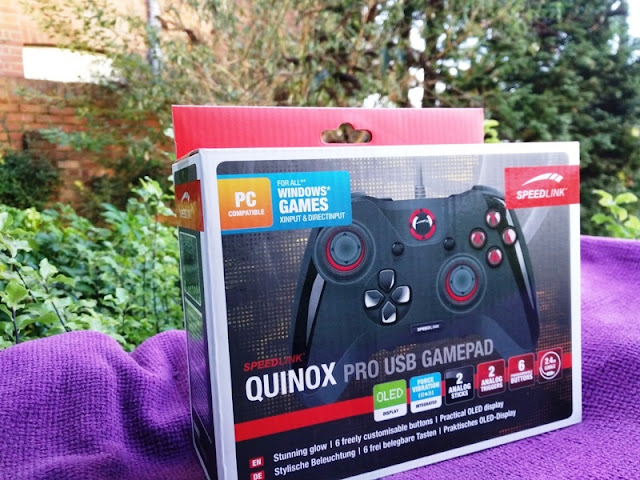
weighs around 200 grams
With the Quinox Pro gamepad, you get a total of 2 analog sticks, a digital 8-way D-pad, 2 analog triggers, 2 button profiles, 2 macro profiles, 4 additional buttons on the back, 2 additional shoulder buttons, 2 bumper buttons, 2 button programming controls and 10 digital buttons (including Start and Back).
To start using the QUINOX Pro USB gamepad, you will need to download the QUINOX PRO driver first.
The force vibration feedback can be turned off and on via the switch on the back of the gamepad. Next to that switch, you will find another switch on the back of the gamepad controller that allows you to switch between X (XInput) mode and D (DirectInput) mode.
The QUINOX Pro USB gamepad features a total of five profiles with additional buttons and macro functions that you can choose from.
These include, NORMAL, PROFILE 1, PROFILE 2, MACRO 1 and MACRO 2. To switch profiles, simply press the left controller wheel, then up and down on the D-pad and left controller wheel again to activate the selected profile.
To customize the buttons of a profile, press the left controller followed by the right controller to start programming the buttons (the display will show Program Mode).
Now, press and hold one of the additional buttons (K1-K6) while at the same time pressing one of the main buttons (A, X, Y or B) so you can assign a main button to this additional button. Once the additional button is programmed, press the right controller again to save/exit.
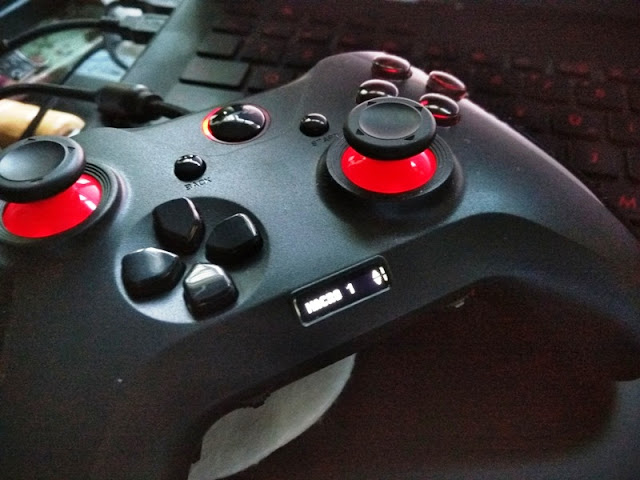
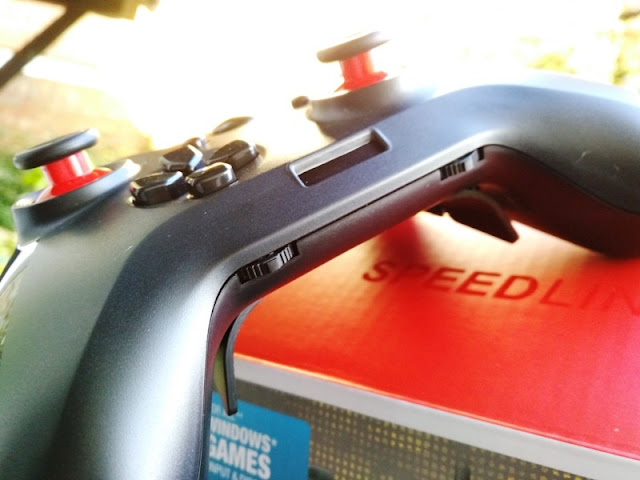
left and right controller wheel
To assign a macro function of a profile to an additional button, you do the same as above; press the left controller, select a macro and press the right controller to enter Program Mode.
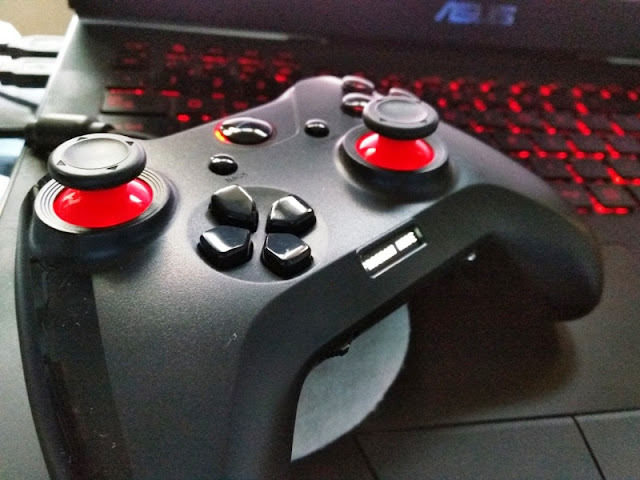
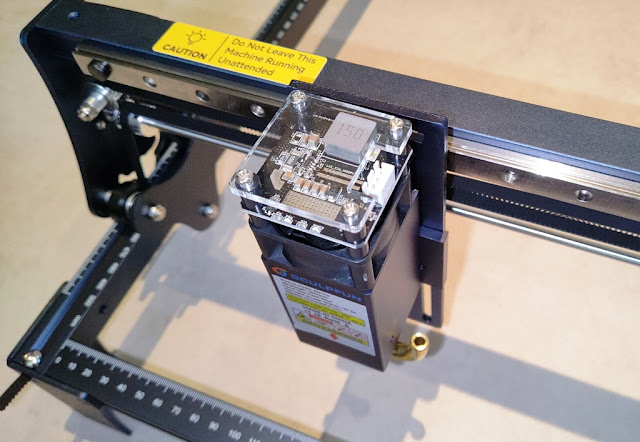
Quinox Pro connected to ASUS gaming laptop
Then, while you are pressing the additional button, press the main buttons in the sequence you require and press the right controller to save/exit.
You can also create a MACROSETS, which are macro functions from D-pad commands and trigger presses, as well as customize the analog trigger sensitivity of a profile. To do this, you enter Program Mode but instead of pressing the left controller, press the right controller.
To adjust the analog trigger sensitivity (display shows as R TRIGGER 100 or L TRIGGER 100 for the left analog) use up and down on the D-pad to adjust the sensitivity from 25 (maximum sensitivity) to 50, 75 or 100 (minimum sensitivity). After adjusting the analog stick sensitivity, press the right controller to save/exit.
To customize the analog stick sensitivity of the Quinox Pro gamepad, enter program mode (display shows ‘SPEEDLINK’) and move the left or right controller to the left or right. The display will show two zeros (‘0 0’). The left zero indicates the sensitivity of the left analog stick; while the right number indicates the sensitivity of the right analog stick. Move the relevant controller to the left or right to increase/decrease sensitivity up to a minimum of -10 and a maximum of +10.
To turn on and off the gamepad's LEDs, simply press the right controller and press up or down on the D-pad to switch between ‘LEDS ON’ or ‘LEDS OFF’. Press the right controller again to save/exit.
To reset the gamepad back to its factory settings, press and hold both the ‘BACK’ and ‘START’ buttons for 3 seconds. The display will show: ‘RESET?’. To confirm, press ‘A’.
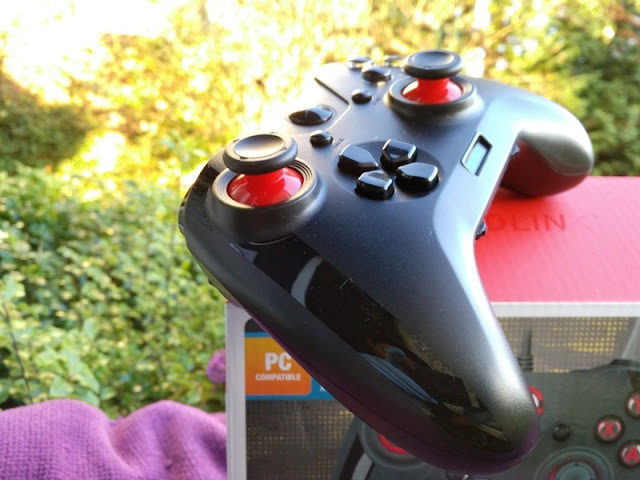
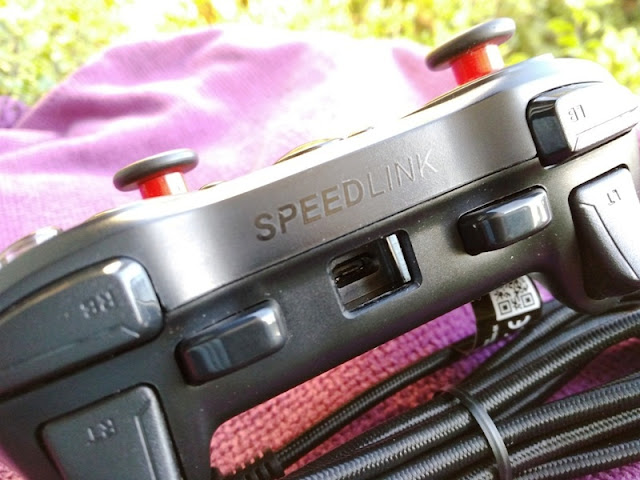
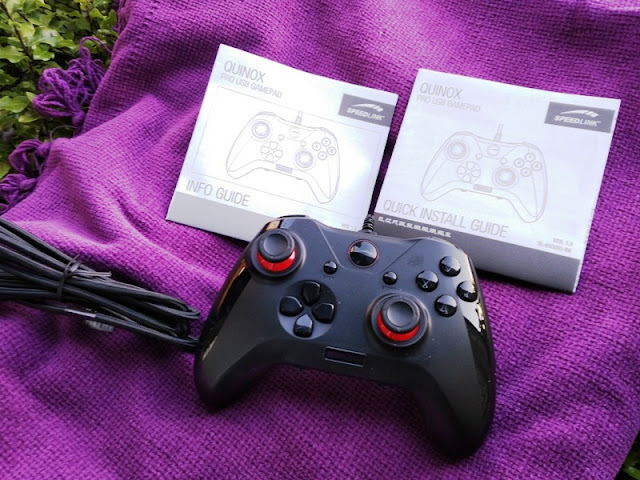
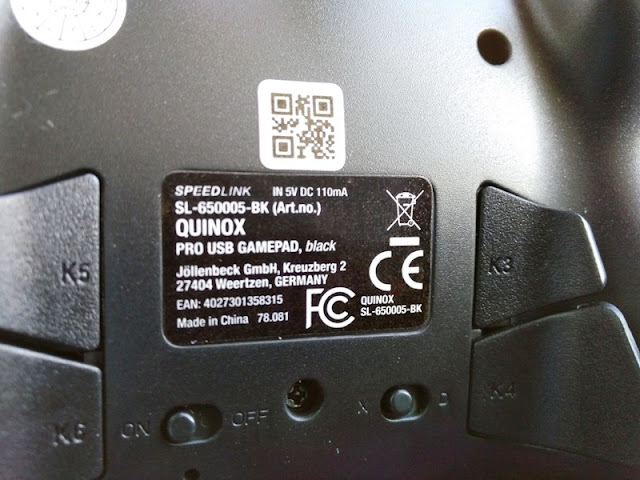
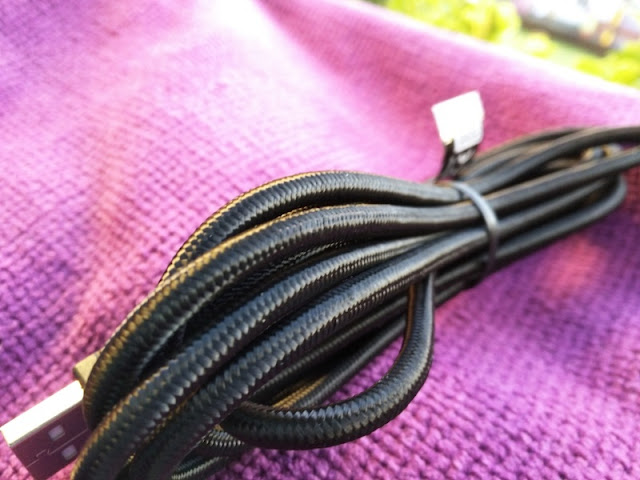
included is a detachable 2.4 meters long USB cable (micro USB to USB)
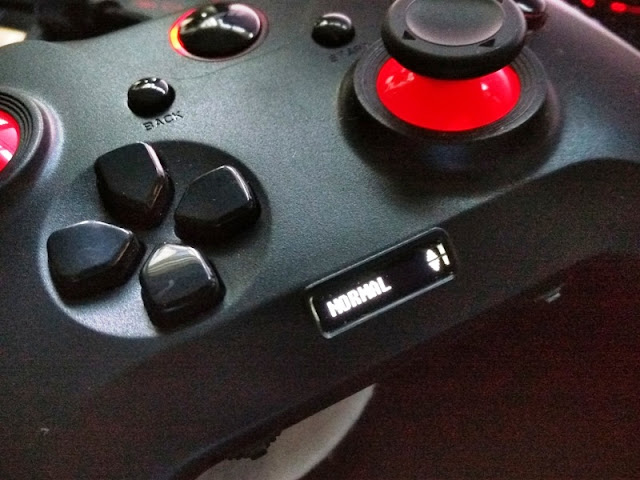
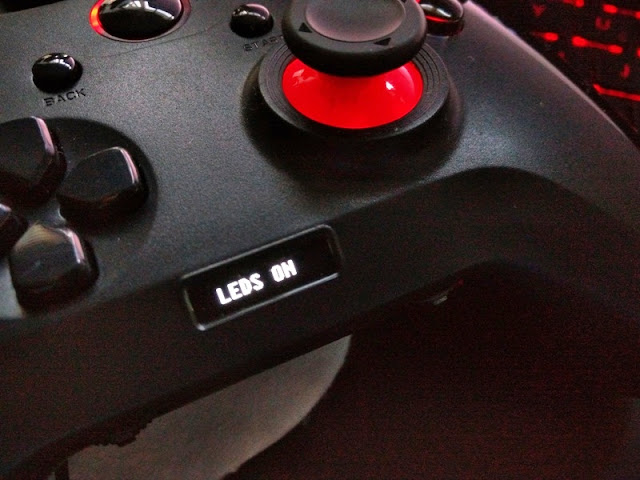
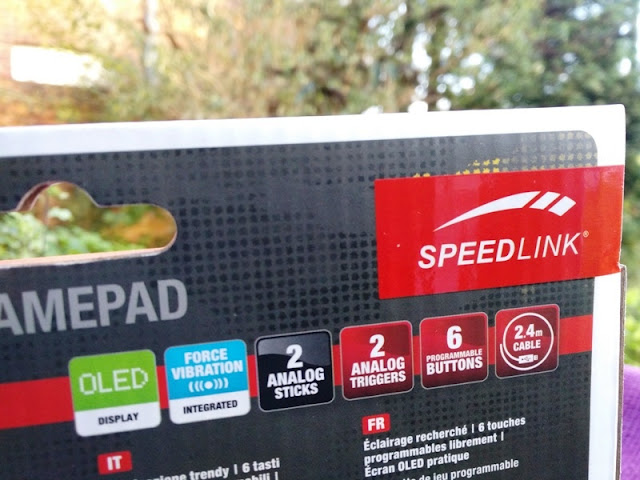
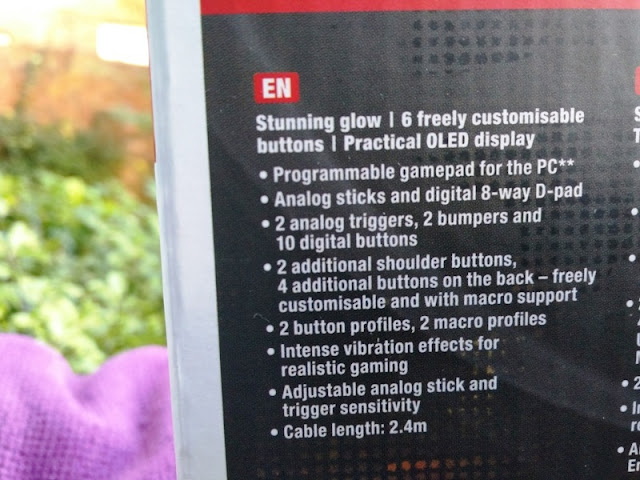
You really get a top-notch controller in the Quinox Pro with great response feedback from the buttons, triggers and bumpers, as well as an OLED display and six buttons that you can customize the way you want.

Similar Gadget Explained Reviews

0 comments

Connect With Gadget Explained