articles
How To Control The GoPiGo Robot Remotely From A Desktop Keyboard - Part 5
Monday, July 25, 2016


To execute the code above to tun the Tkinter event, we use the Windows "Remote Desktop Connection" interface. Once you get the prompt below, enter your Raspberry Pi's IP address and click connect:

Click on the LX Terminal and enter: cd Desktop/GoPiGoLocal/ >ls > sudo python test2.py The TKinter event window will pop up (you can see it below as tk)

Now you can press the predefined keys on the keyboard and remotely control the robot car from your desktop keyboard.

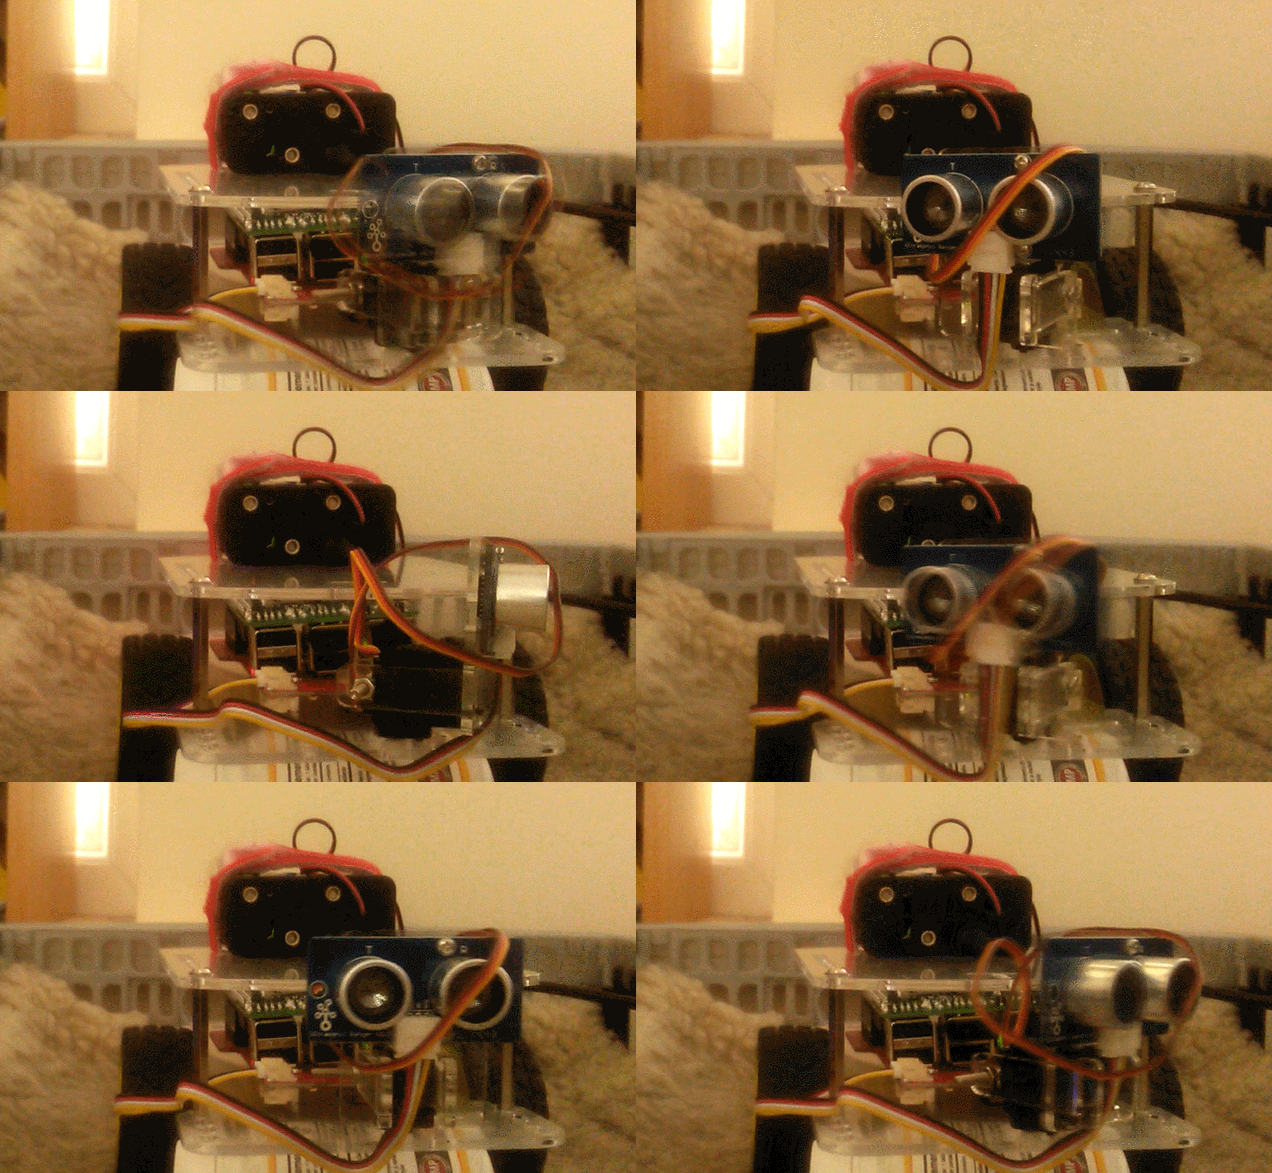
To control the servo, we add the following lines of code to test2.py. The servo rotation ranges from 2 to 9, so when pressing the numbers 2,3,4,5,6,7,8,9 the servo will rotate from left, right and center.

After entering the lines of code above, you'll be able to control the servo and rotate it around a good 180 degrees.

find and seek
Stay tuned for Part 6 where I'll be testing out the GoPiGo's ability to detect obstacles and drive around them.


0 comments