
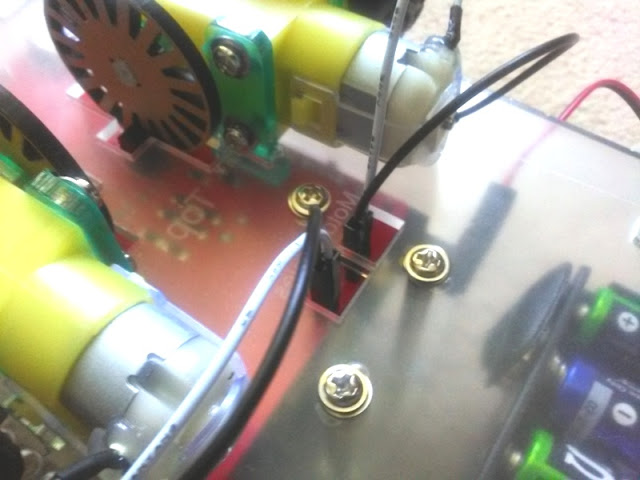
cable connection pattern: black, white, black, white
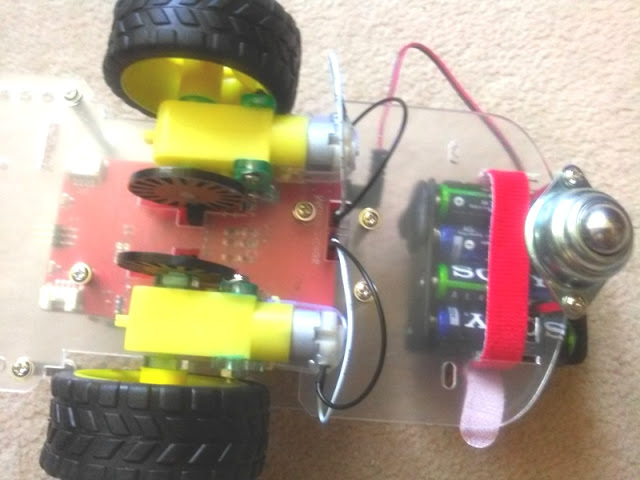
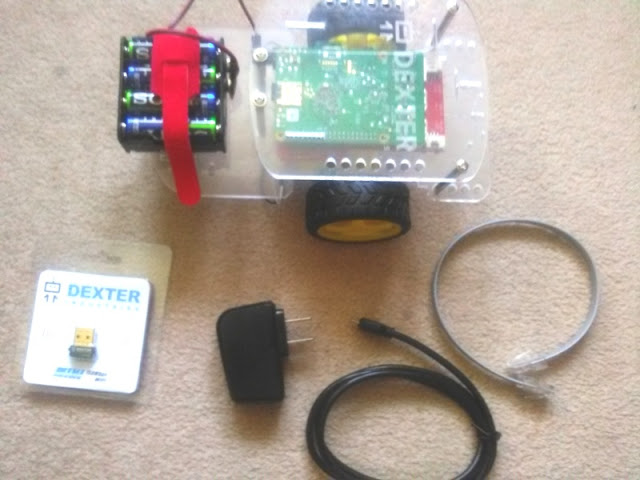
Attaching the battery pack and cable motors to the GoPiGo2 robot car is straightforward. The red velcro strap wraps around the battery pack (I am using 8 SONY long lasting alkaline batteries); while the white and black cables connect to the four metal pins underneath the car.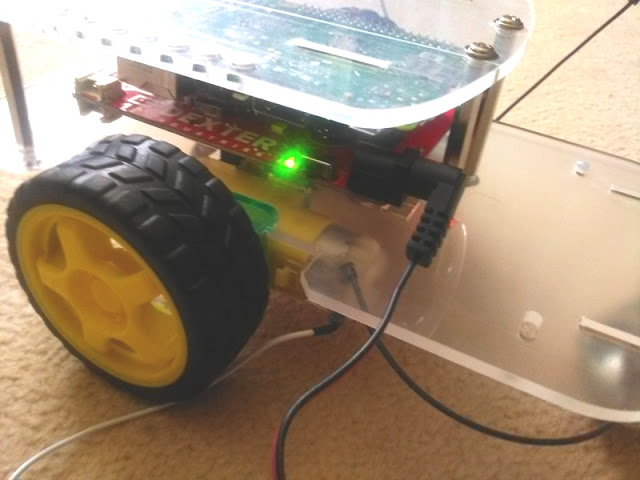
yellow power LED on GoPiGo board

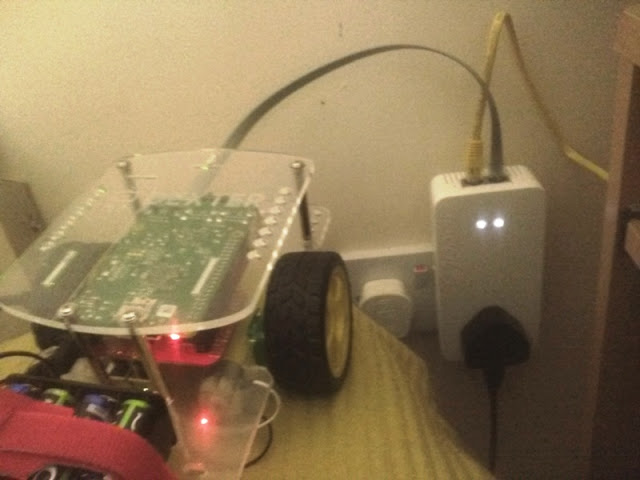
robot car hooked to DLAN powerline
Before setting up the network preferences, you want to download and install Bonjour Print Services to make it easier to communicate with the GoPiGo robot car by calling it by its name (dex.local) rather than using its full IP number.
To communicate to the Raspberry Pi wirelessly, we need to set up a WiFi connection. For this, we type in "http://dex.local/" on any Internet browser.

Now click on "Launch VNC" so we can log in to the Raspberry Pi (type in the password "robots1234" when requested)

Click on "WiFi Set Up" icon. Select "Manage Networks" tab, click "Scan" and select your home's Internet network. Where is says "PSK", enter your home network's password. Now reboot the Raspberry Pi by going to MENU (top left corner) and selecting "Shutdown>Reboot". If successful, you will be able to communicate with your Raspberry Pi wirelessly without the Ethernet cable.

The moment of truth is the TEST. To check everything has been wired and WiFi set up correctly, log back into the Raspberry Pi and click "Test and Troubleshoot" icon. Then, select "Demo GoPiGo".

If the robot car moves forwards and then backwards, the connection and programming of the GoPiGo robot car has been a success.
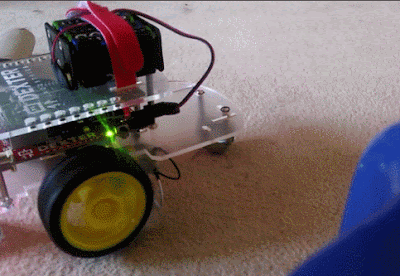
I took it for a spin


Message prompted when installation is complete
Hope you enjoyed Part 2! Stay tuned for Part 3 where I will be setting up the servo for the robot car.


0 comments